
Installing a bathroom sink drain may seem easy, but one or two wrong mistakes can turn that quick project into a plumbing disaster. Too many homeowners speed the process along or overlook minor but important steps that create leaks, stinky odors, or slow drains down the line. Knowing the bathroom sink drain installation mistakes to avoid can save you money, time, and frustration down the road.
Common Bathroom Sink Drain Installation Mistakes to Avoid
Let’s break down the most common issues people face when installing sink drain systems—and how to fix them before they happen.
1. Skipping Pre-Installation Checks
Before you grab the wrench, it’s vital to make sure everything fits and lines up correctly. Skipping pre-installation steps often causes leaks and misaligned pipes later.
Importance of Measuring and Planning the Setup
Always measure twice and install once. If you don’t check the sink hole size, flange diameter, or tailpiece length, you may end up forcing parts together. That’s one of the biggest bathroom sink drain installation mistakes to avoid.
Ensuring Proper Drain Pipe Height
Your drain pipe should align perfectly with the wall outlet. If the pipe is too high or too low, water won’t drain efficiently. A small adjustment here can save hours of rework later.
2. Using the Wrong Drain Pipe Size
Many DIYers think any pipe will do—but that’s far from the truth.
Recommended Pipe Size for Bathroom Sink Drains
Typically, a 1¼-inch pipe works best for bathroom sinks. Using the correct size ensures proper water flow and pressure. This simple step can prevent future clogs and is one of the easiest bathroom sink drain installation mistakes to avoid.
Problems Caused by Incorrect Pipe Size
If the pipe is too small, it can cause slow drainage or backflow. If it’s too large, you might face leaks at the connection points. The key is a snug, precise fit when installing sink drain parts.
3. Forgetting to Use Plumber’s Putty or Silicone
Skipping sealant might not seem like a big deal, but it’s one of the most common reasons for leaks around the drain.
When to Use Plumber’s Putty
Plumber’s putty is ideal for sealing metal sink drains. It’s easy to work with and provides a watertight seal that prevents leaks from forming under pressure.
When Silicone is the Better Choice
For plastic or composite sinks, silicone sealant works better. It adheres firmly and prevents moisture from seeping into small gaps. Knowing when to use each is key to how to install the sink drain correctly.
Risks of Skipping Sealant
If you skip this step, even the tightest fittings can leak over time. Moisture will seep through and cause corrosion or mold buildup. Don’t let a five-dollar mistake turn into a costly repair.
4. Over-Tightening or Under-Tightening Connections
Tightening pipes might sound simple, but there’s a fine balance.
Preventing Leaks with Correct Tightness
If the fittings are too loose, leaks will show up within days. Make sure every nut and washer is snug but not forced. It’s one of those bathroom sink drain installation mistakes to avoid that’s easy to overlook.
Avoiding Pipe Damage from Over-Tightening
On the other hand, over-tightening can crack washers, strip threads, or even break PVC pipes. Turn each nut just until resistance is felt—then give it a gentle extra twist.
5. Improper Pipe Alignment
Crooked or misaligned pipes are more than just unsightly—they can cause constant drainage problems.
How to Align Drain Pipes Correctly
Each pipe section should connect smoothly without strain. Dry-fit everything before applying any sealant. Adjust as needed to ensure all joints line up perfectly.
Impact of Misalignment on Flow and Leaks
Misaligned pipes create uneven water flow, leading to slow drainage or standing water. Over time, pressure builds up and leaks begin. Avoiding this mistake is part of learning how to install sink drain properly.
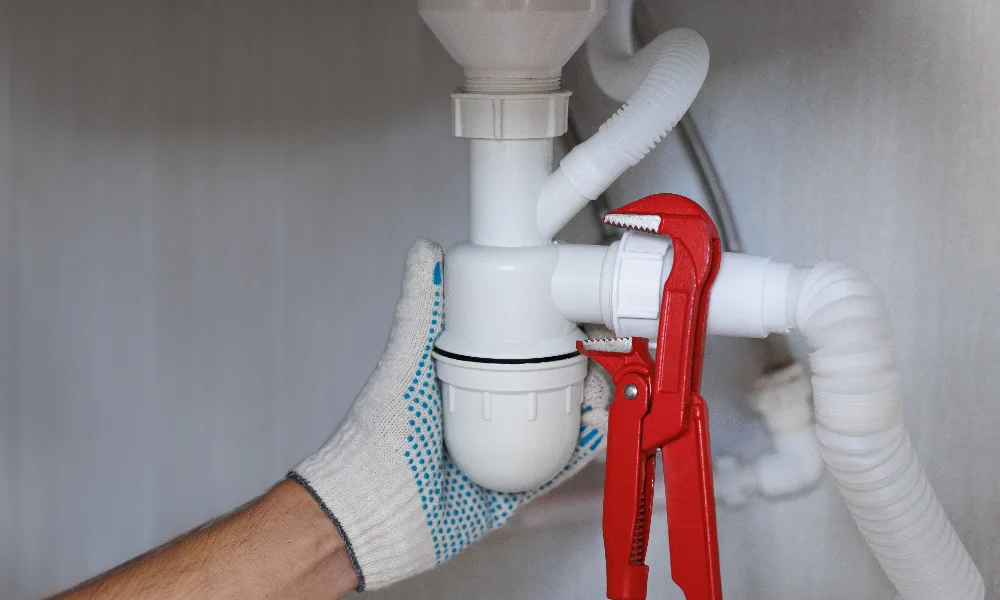
How to Install a Bathroom Sink Drain the Right Way
Once you know the pitfalls, it’s time to do it right.
1. Measure and Prepare the Sink and Pipe
Confirm that all parts fit and align properly before installation. Clean the sink surface to ensure a strong seal.
2. Insert and Seal the Drain Flange
Apply plumber’s putty or silicone under the flange. Press it into place firmly and tighten the locknut. Wipe off any excess sealant.
3. Attach and Align the Tailpiece
Connect the tailpiece to the drain body. Adjust its position so it lines up smoothly with the P-trap.
4. Connect the P-Trap and Test for Leaks
Tighten the connections, run water, and check for leaks. A dry setup means your installing sink drain process is successful.
Signs of a Poorly Installed Drain
Even if you’ve done everything by the book, it helps to know the warning signs of trouble.
Frequent Leaks
Water pooling under the sink is a sure sign of loose fittings or missing sealant.
Slow Drainage
If water drains slowly, the pipe might be misaligned or the wrong size.
Sewer Smells
A foul odor means air is escaping through gaps or dried-out traps—both signs of improper installation.
FAQs
How High Should a Sink Be Off the Floor?
A typical bathroom sink drain is about 18–20 inches above the floor, depending on the vanity height.
What’s the First Step for Sink Drain Installation?
Always start by measuring and planning. This prevents major bathroom sink drain installation mistakes to avoid later.
Do I Need Silicone to Install a Sink Drain?
Yes, in most cases. Silicone helps create a waterproof seal, especially with non-metal sinks.
Call Roto-Rooter Plumbers and Septic Service for Expert Sink Drain Installation
Installing a sink drain doesn’t have to be a guessing game. If you’d rather skip the hassle and avoid costly mistakes, call the experts at Roto-Rooter Plumbers and Septic Service. Our licensed plumbers handle everything from new installations to leak repairs with precision and care.
Visit Roto-Rooter Plumbers and Septic Service today to book a service. Don’t let a small mistake drain your wallet—trust the pros to get it done right the first time!